Students
Build something you can explain.
Turn a drawing, sorting rule or robot sequence into a small portfolio project. Keep your code, tests and what you changed—not just a video of a moving arm.
Find a first projectSTEAM education · Real-world engineering
Build practical STEAM skills with projects, desktop robots, modular training stations and industrial educational cells. Find a starting point for yourself, your family, your classroom or your research team.
Explore equipment and training cellsFind your next step
Use the free project ideas, explore equipment, or bring a teaching challenge to a technical conversation. You do not need to be buying a full laboratory to begin.
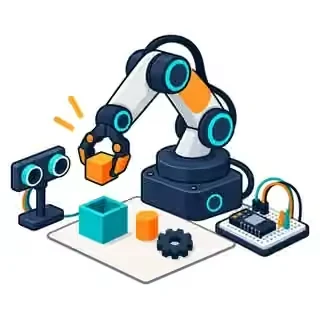
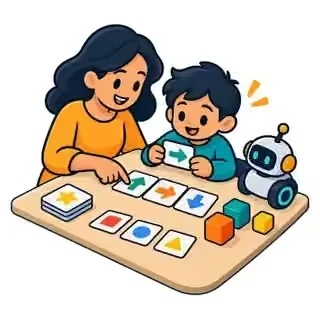
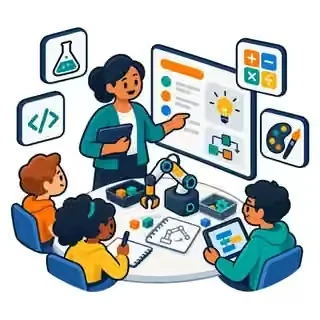
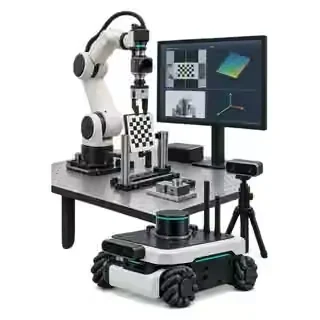
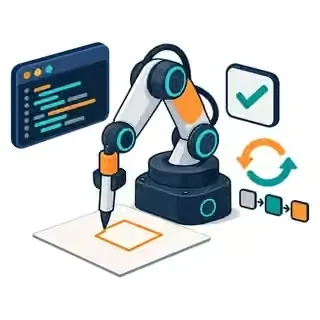
AI-generated learning illustrations, not product photographs or approved cell designs.
Students
Turn a drawing, sorting rule or robot sequence into a small portfolio project. Keep your code, tests and what you changed—not just a video of a moving arm.
Find a first projectMakers & hobby enthusiasts
Explore creative motion, sensors and desktop automation. Start with a manageable task, then check the tool, software and interface before buying add-ons.
Explore desktop setupsParents & families
Try an unplugged activity together before choosing hardware. Match the next step to ability, interest and adult supervision—not a universal age promise.
Try an activity togetherTeachers & school leaders
Connect science, coding, mathematics and creative design through projects with visible learning evidence. Plan shared stations, teacher preparation and an achievable first term.
Plan a classroom rolloutVocational instructors
Bring PLC logic, HMI operation, I/O, tooling and fault recovery into one documented training task. Ask about modular stations and industry-like educational cells.
Scope a training cellProfessors & PhD researchers
Define the experiment, measurement method and software interface first. Discuss calibration, vision, manipulation or mobile robotics without assuming every robot supports every SDK.
Explore research briefsYour starting point
Choose the learning outcome first. Every track offers practical project briefs, including a teacher view and a route that starts without powered hardware.
01 / K–12 / STEAM
Predict a movement, draw a story and turn an idea into a sequence.
I can explain why my programme works.
02 / Vocational / FP
Connect robot, tooling and signals. Learn how a complete cell behaves.
I can document a cycle and its recovery.
03 / University / research
Test calibration, trajectories and perception with reproducible evidence.
I can design a measurable experiment.
Try it yourself
Move the block from A to B. The starting programme has a mistake: predict what will happen, run it, then change the order. The checker explains the first missing condition before moving anything.
Same task, a different question
A robot does not know you meant to pick up a block. It needs the right action in the right place. Explain the four commands to a partner before pressing Run.
Think about it: does moving an open gripper move the block?
A real sequence also needs signals and fault handling. This drawing adds a conceptual sensor/controller: part present → request → busy → done. The challenge itself checks order only; it does not implement a PLC or safety system.
Think about it: which device owns each signal, and what happens if “done” never arrives?
The added axes and dashed target region represent coordinate frames and measurement uncertainty. They are illustrative, not measured data. Define the start conditions, target tolerance and evidence before comparing experiments.
Think about it: can a robot repeat the same result accurately relative to itself, but miss the intended target?
Learning here stays in your browser. No student names, answers or contact details are collected by this challenge.
Simplified simulation. No real robot, account or connection required.
Ready. The block is at A and the gripper is open.
Go to pickup → Close gripper → Move to target → Open gripper. A command needs the right conditions before it can work. Going to B with an open gripper moves the robot, not the block. This model checks command order; it does not simulate forces, collisions or safety functions.
The learning ladder
Move between these steps as the project requires. A coordinate frame defines where positions are measured; kinematics describes how a robot’s geometry relates joint movement to tool position.
Explain a coordinate, draw a pattern and connect code with design.
Turn an input into a decision—and handle an uncertain observation.
Predict a sequence, inspect its result and explain a correction.
Connect tools, signals and people with a documented recovery path.
Control test conditions, measure results and report limitations.
Make something. Learn something.
Suggested teaching briefs, not accredited courses or universal manufacturer lesson plans. Open a teacher view for prerequisites, materials, guided steps, evidence, safety and inclusion.
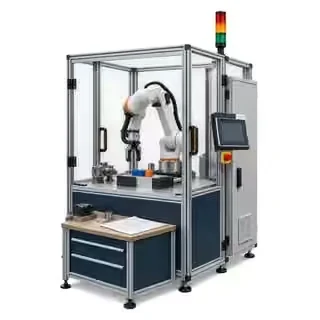
Photos show example equipment; illustrations are labelled. They do not define a supplied package or certify a setup. The projects can still begin on paper or in simulation. Select an image to view it larger.
Begin with prediction, creativity and a teacher-led discussion. Adapt the activity to the learners; K–12 is not one ability level.
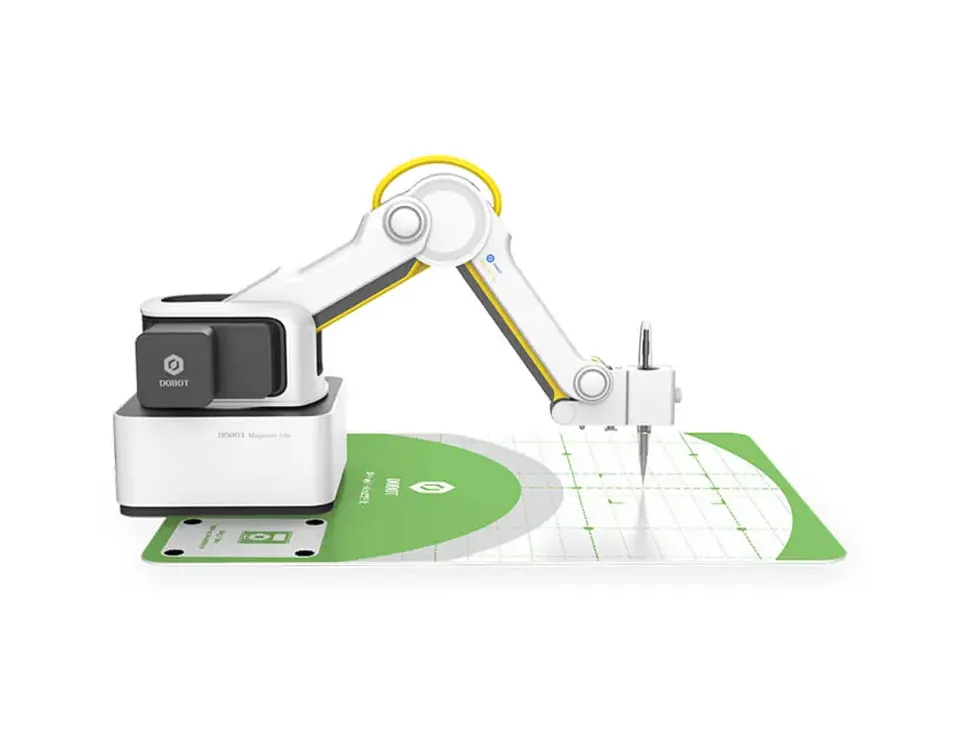
Project 01
Turn a character’s journey into coordinates, then compare the planned route with the drawing.
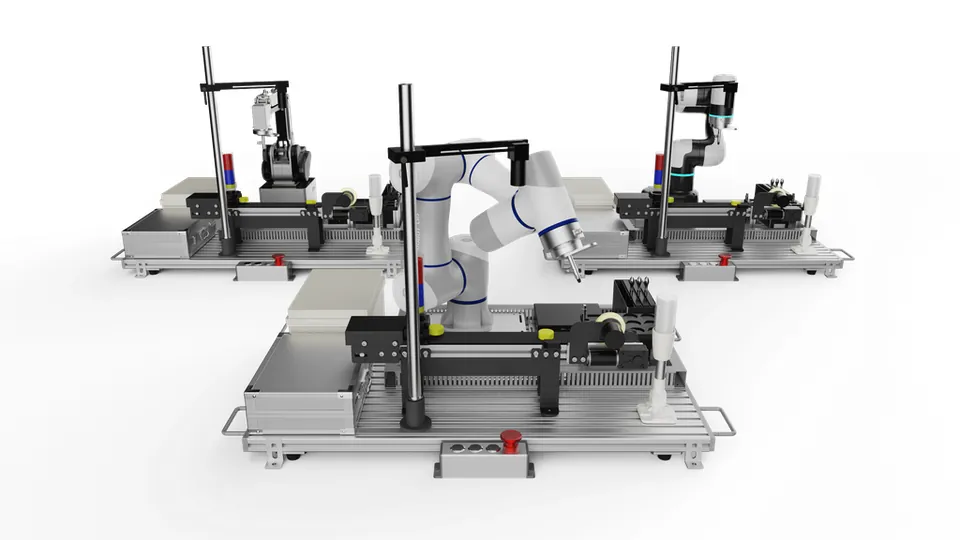
Project 02
Decide what should happen when a part is present, missing or difficult to identify.
Move from a successful robot movement to a documented cell sequence, including the conditions needed to start, stop and recover.
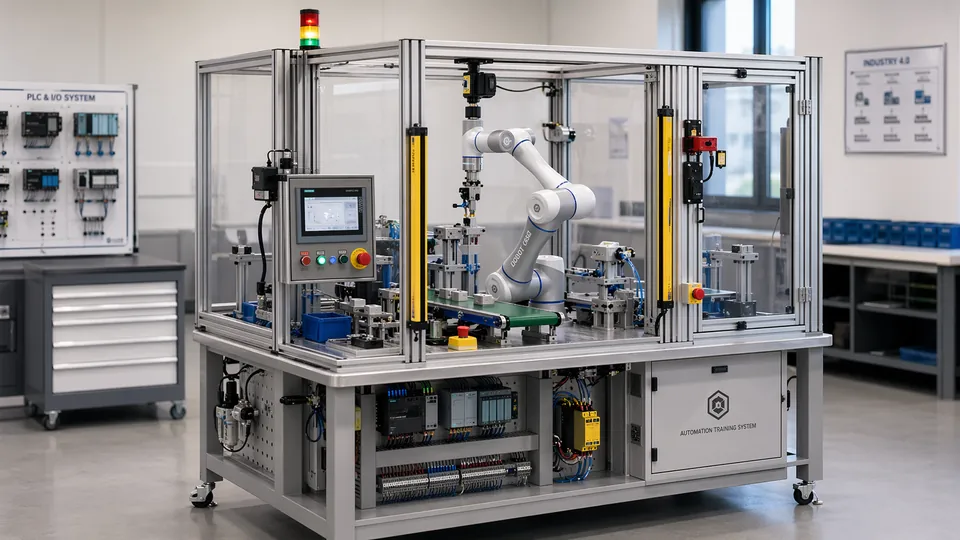
Project 01
Make a controller and a robot agree on ready, request, busy, done and fault states.
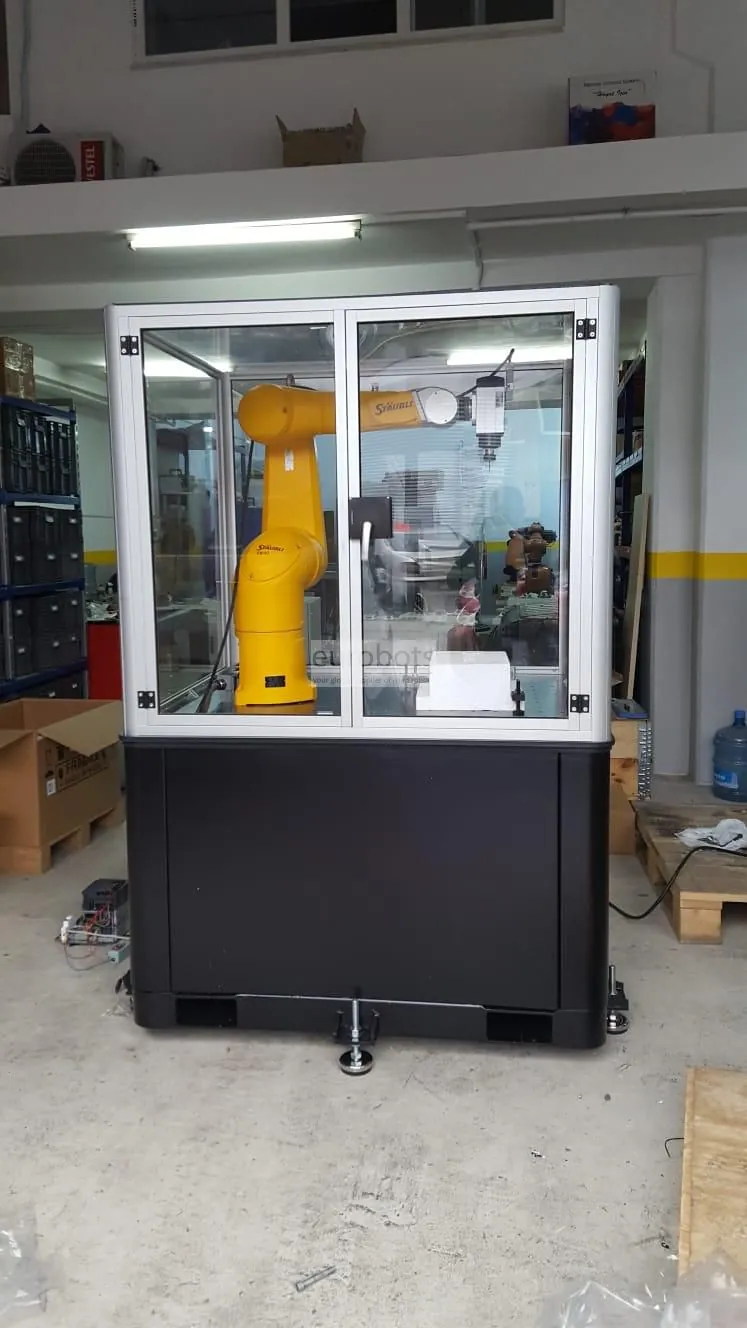
Project 02
Write a start-up and recovery procedure that another learner can follow without guessing.
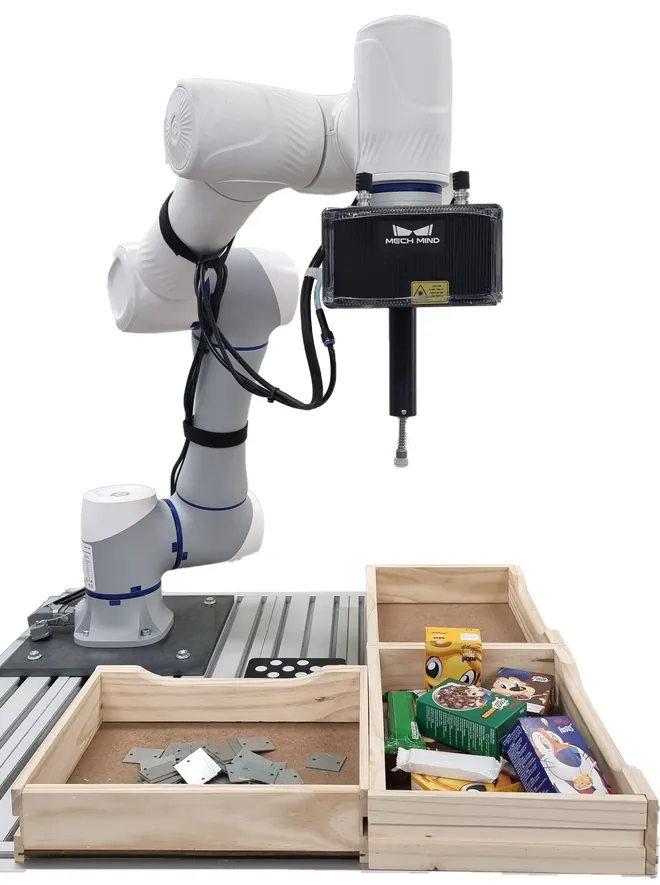
Project 03
Connect lighting, image capture and a clear accept/reject decision to a documented robot cycle.
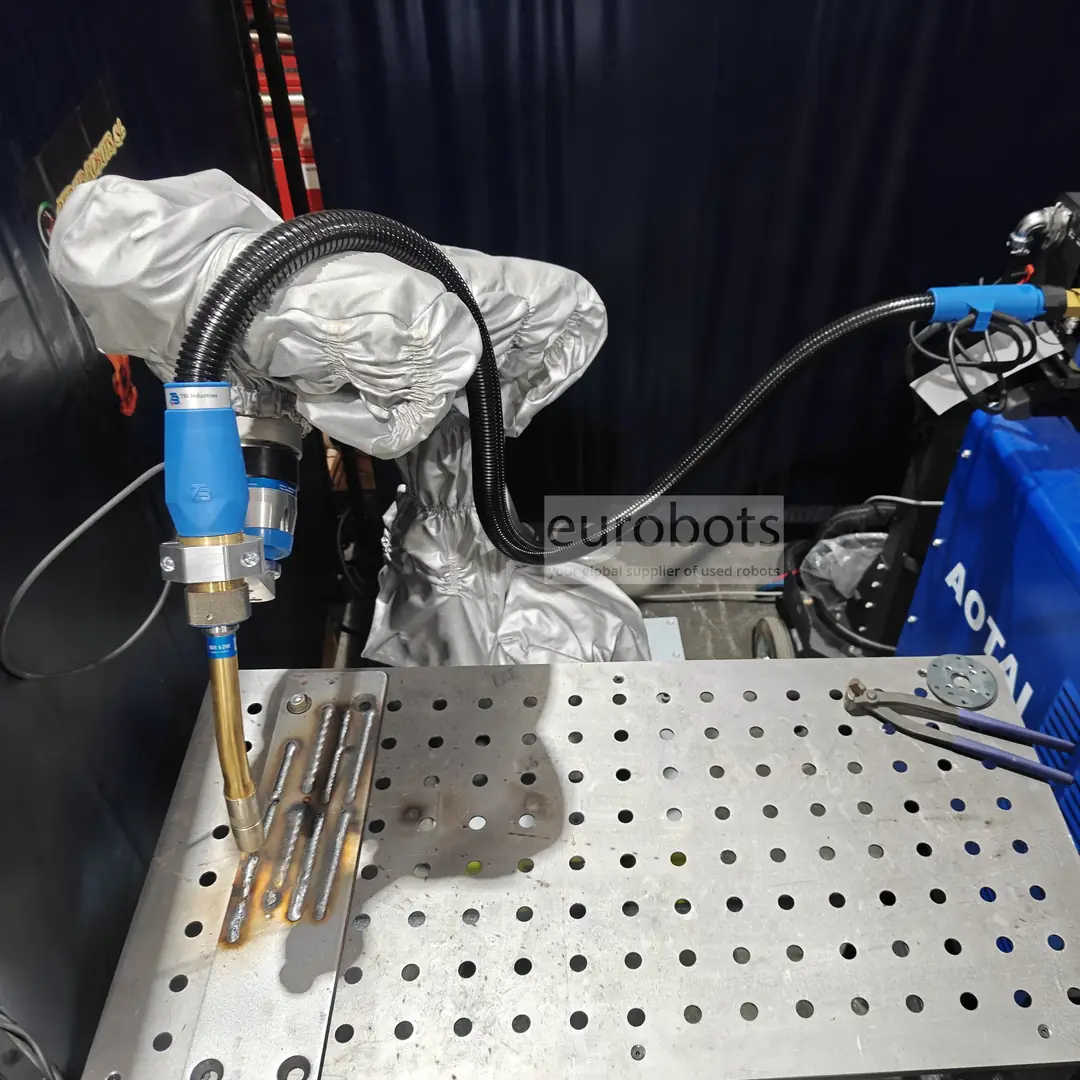
Project 04
Link joint preparation, tool orientation, a simulated weld path and inspection evidence.
Treat the robot as an experimental platform. Specify the question, control the test conditions and keep evidence that another group can reproduce.
Project 01
Trace a target through coordinate frames and distinguish bias from trial-to-trial variation.
Project 02
Design a repeatable test for two motion strategies without mistaking an attractive path for a better experiment.
Choose the research question before the platform. The examples below separate manufacturer descriptions from proposed experiments; availability, interfaces, licensing and safe integration require a project-specific check.
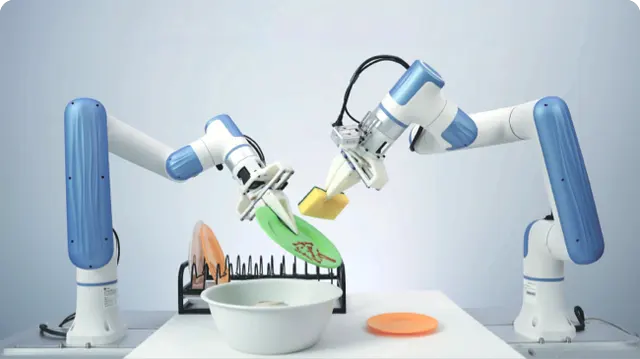
DOBOT describes an AI data-collection and training system with teleoperation, joint and gripper data, RGB/depth camera access and an SDK for training and inference.
Suggested experiment: record a manipulation demonstration, hold out new object poses and compare replay with a learned policy. Report failures and recovery, not only successful videos.
Check before choosing: Verify the delivered arms, cameras, dataset format, compute requirements and SDK release. A demonstrated task does not prove general-purpose autonomy.
Manufacturer information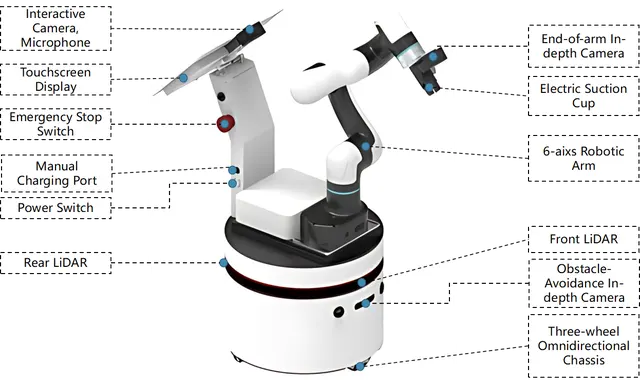
An autonomous mobile manipulator combines a mobile base, arm and perception. DOBOT documents the E6 ROS Mobile Platform for recognition, navigation and mobile grasping with ROS-based development.
Suggested ROS 2 experiment: connect mapping and navigation with an arm-planning task using Nav2 and MoveIt 2, then measure docking error and picking success after each move.
Check before choosing: The linked E6 page does not identify a ROS 2 distribution. Require working base, arm and camera drivers, transforms and timestamps before choosing a ROS 2 configuration.
Manufacturer information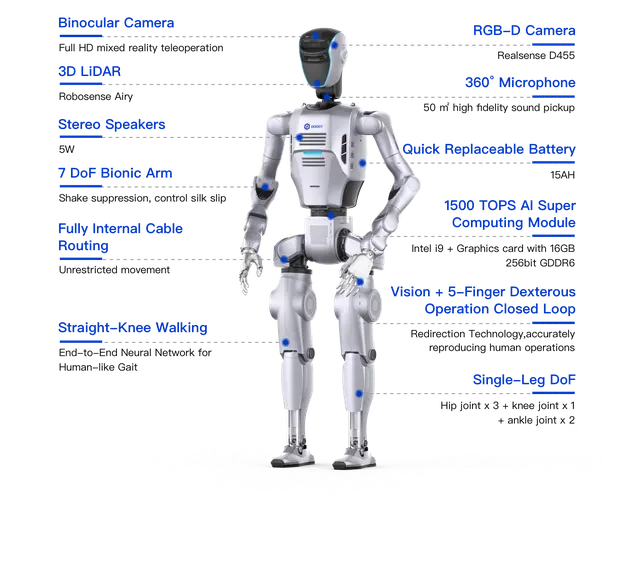
DOBOT presents ATOM for humanoid manipulation and locomotion research, with distinct configurations for data collection and advanced development.
Suggested experiment: study perception and upper-body manipulation in a controlled task before combining them with locomotion. Compare teleoperation, replay and learned behaviour under the same conditions.
Check before choosing: Confirm the exact ATOM version, permitted control level, data access and supplied development tools. Plan fall protection, exclusion space and supervised recovery; do not infer an open ROS 2 interface.
Manufacturer information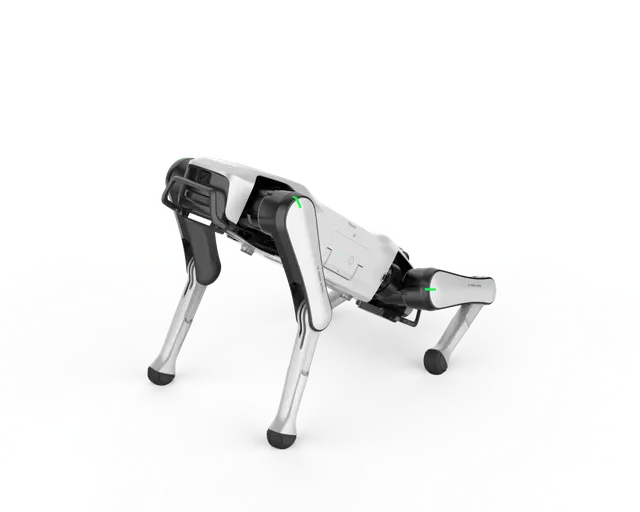
INFFNI lists Rover X1 as a quadruped robot. Consider supervised mobility and perception experiments only when the required development access is supplied.
Suggested experiment: log camera or motion observations during a supervised route, compare repeated runs and evaluate recovery after a simulated localisation failure.
Check before choosing: INFFNI lists SDK support for EDU versions only. Confirm the edition, licence, firmware, sensor access and control modes; do not assume ROS 2 support or unrestricted locomotion control.
Manufacturer informationPlatform descriptions checked on 14 October 2026. Suggested experiments are original teaching ideas, not guaranteed capabilities, accredited courses or confirmed stock offers.
From a desk to a complete training environment
Explore five equipment pathways. Catalogue products, configurable cells and custom project ideas are identified separately; the quotation defines what is supplied.
01 / Start at the desk
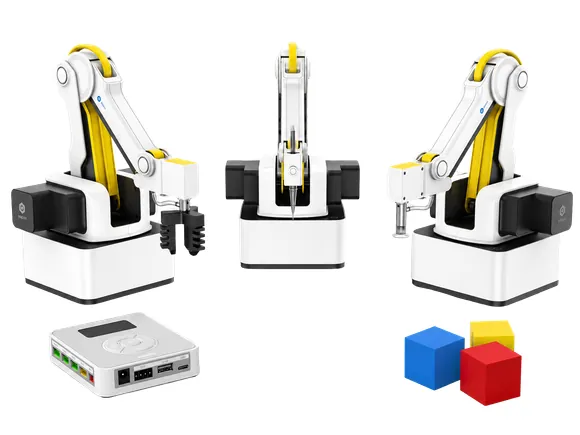
Explore drawing, coordinates, programming and simple handling with a compact arm. Magician Lite, Magician and E6 serve different learning goals; they are not interchangeable bundles.
Ask for the robot, approved tools, software requirements and a first practical activity as an itemised scope.
Browse educational robots
02 / Make a process visible
Build teaching scenarios around conveyors, sorting, sensors, vision and part flow. Add one process at a time so learners can see what each component contributes.
ReBots lists conveyor, rail and AI/vision accessories. Compatibility and the assembled teaching model need their own specification.
Explore teaching accessories
03 / Learn integration
Discuss a modular station for signal ownership, sequences, alarms and recovery. Pair a robot or process model with a PLC, operator interface and documented I/O.
A proposed configuration, not a fixed catalogue bundle: agree controller versions, protocols, software licences and supervised exercises.
Discuss a modular station
04 / Train with industrial equipment
Eurobots describes configurable teaching cells using new or refurbished industrial robots, controllers and tooling. This opens a route from isolated movements to commissioning and maintenance practice.
Specify enclosure, access protection, utilities, operating modes and acceptance tests for the actual task. PLC/HMI integration and safety validation must be explicitly included in the agreed scope.
See the industrial teaching-cell offer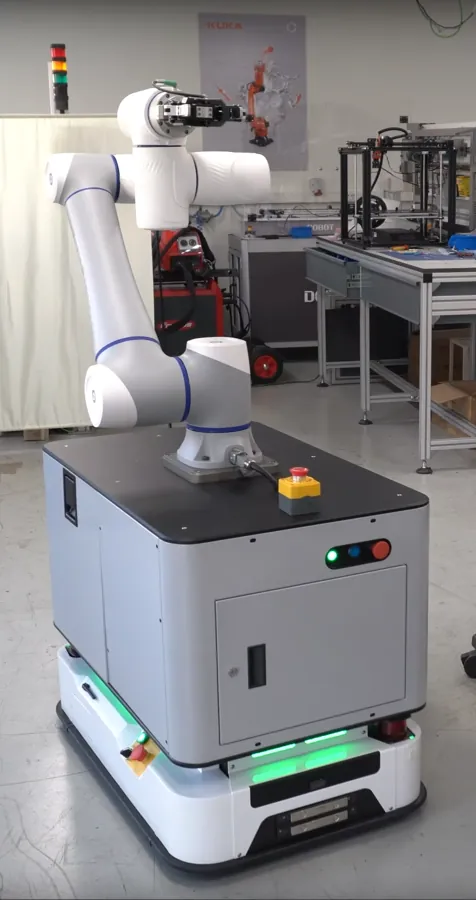
05 / Investigate a real question
Scope a platform for vision, calibration, force interaction, autonomous mobility or manipulation. Start with a reproducible interface test and the measurements your experiment needs.
Custom project discussion: verify the exact controller, drivers, data access and integration responsibilities before committing to hardware.
Discuss a research setupPublic catalogue and educational-cell descriptions checked on 14 October 2026. Model availability, included equipment, services and prices require confirmation in a current quotation.
Three stages, one modular approach
Match the setup to your curriculum, space and budget. Begin with a base, add a demonstrator, or scope a complete educational cell without treating every project as a full laboratory purchase.
Start the first practical lessons.
Define the robot or cobot and the accessories needed for the first task, with initial setup and introductory programming practice.
Make an automation process visible.
Combine robot, tooling and process accessories for mechatronics, electrical and manufacturing practice. Vision and safety-circuit integration are scoped to the demonstration.
Teach an integrated application.
Scope a cell with robot, tooling, safeguarding and PLC, plus HMI and vision where specified. The complete-cell proposal includes initial teacher training.
These are configurable solution levels, not identical off-the-shelf bundles. The current quotation defines equipment, training, integration, safeguarding, delivery and acceptance responsibilities. Required protection is never an optional teaching extra.
EduCell & MiniCell
Explore the ReBots application families below. The learning prompts are suggestions to shape your brief; hardware, interfaces and exercises are agreed for each project, not presented as accredited courses.
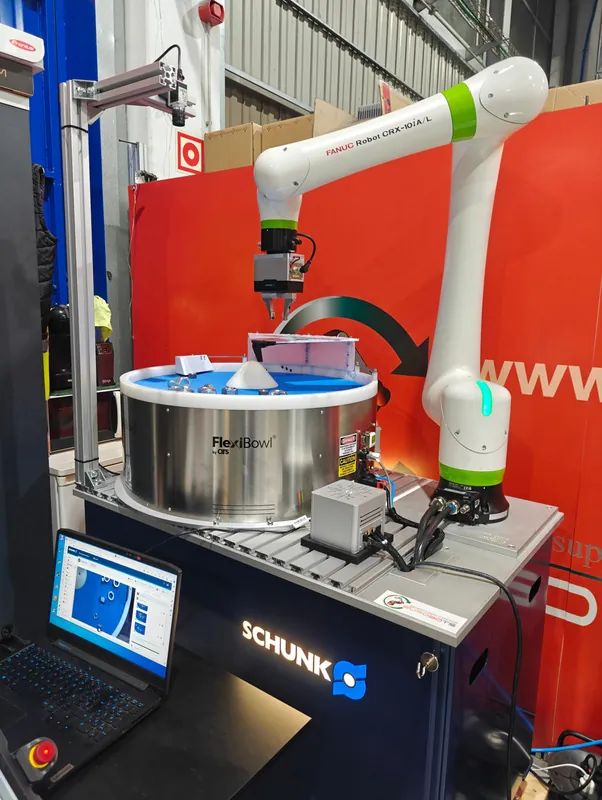
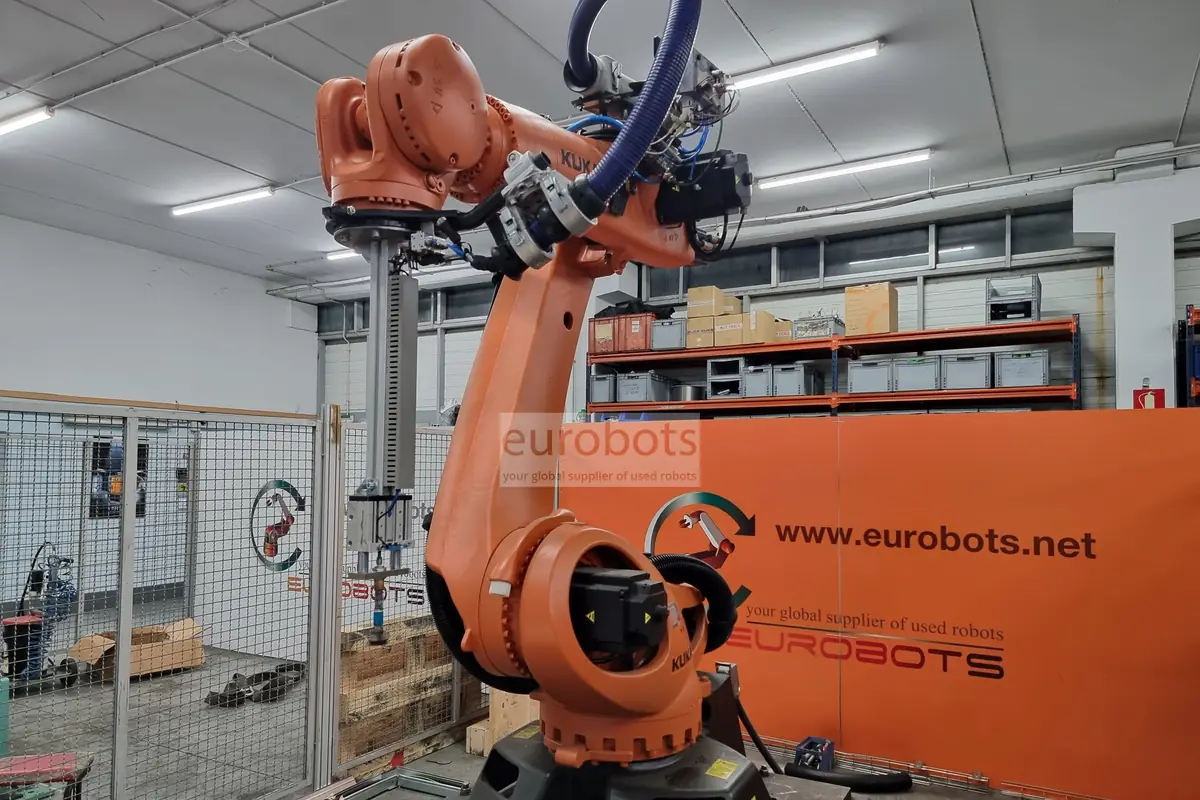
Suggested lesson: relate gripping, workholding and coordinate frames to a repeatable handling task.
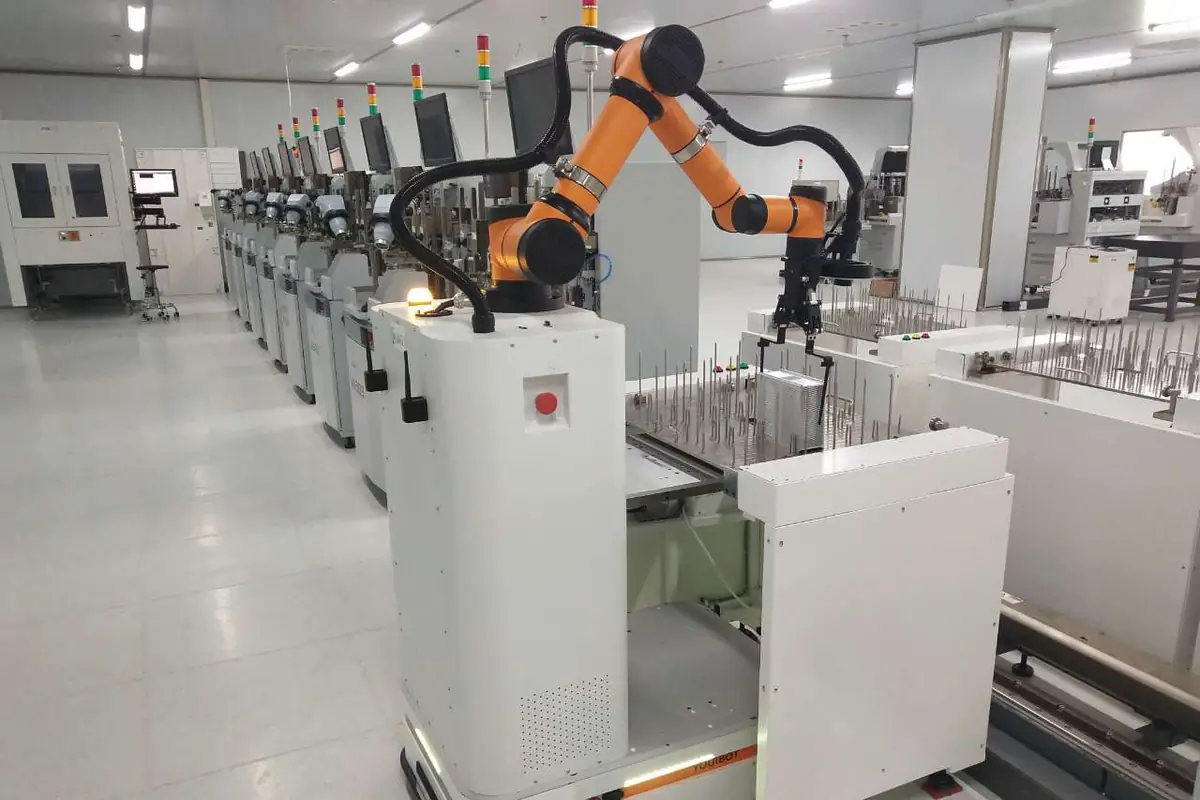
Suggested lesson: connect part detection, sequencing and transfer; explain what happens when a part is missing.
Suggested lesson: model loading and unloading with machine/robot handshakes, operating states and a documented recovery path.
Suggested lesson: investigate calibration, recognition and inspection, including uncertain or rejected results.
Suggested lesson: begin with simulation and path planning. Powered welding requires a separately assessed process, safeguards and competent supervision.
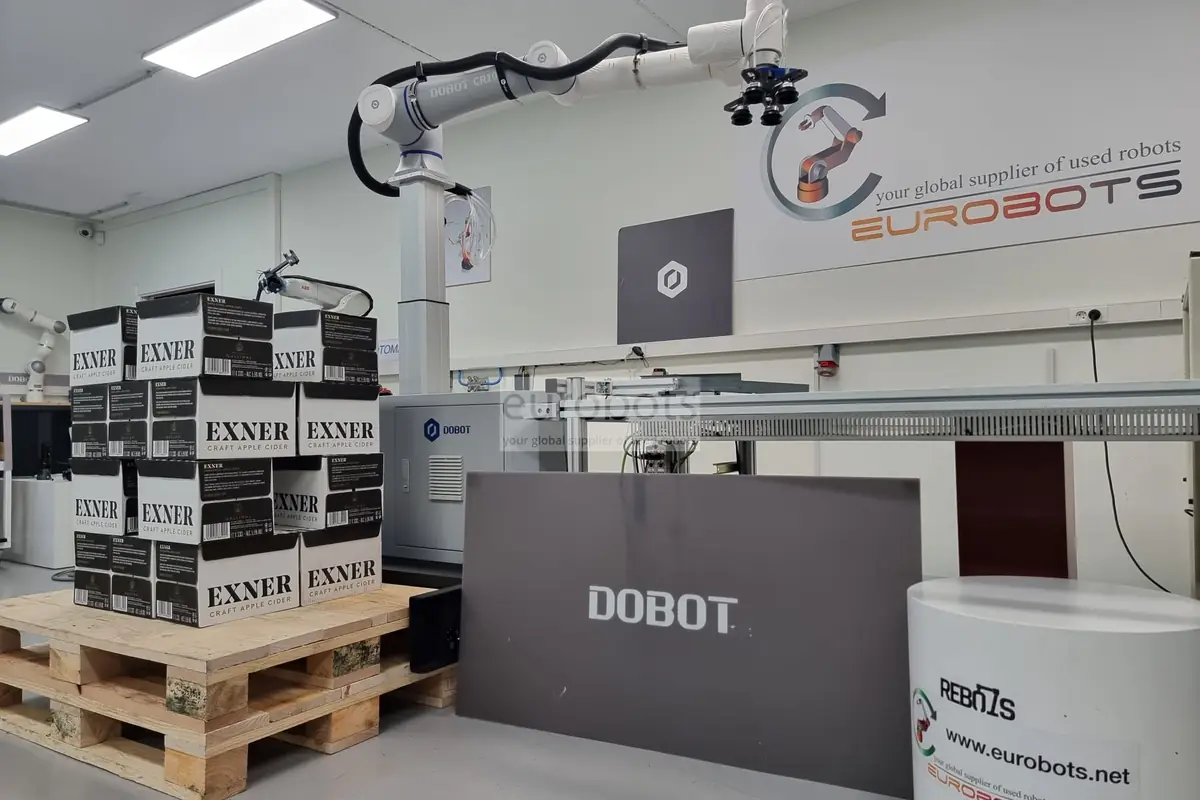
Suggested lesson: build a layer pattern, track occupied positions and explain cycle logic before testing a supervised setup.
Suggested lesson: define a navigation or mobile-manipulation experiment. Verify the supplied platform, drivers and ROS 2 interfaces before selecting the exercise.
Introduce electricity, electronics, robot handling, safety and workshop logic through visible, understandable tasks.
Go deeper into PLC, HMI, vision, diagnostics, simulation and higher-level programming, with AI applications where the project supports them.
Build around documentation, modularity and initial training. Plan preparation time and phased growth so the setup remains useful beyond its first demonstration.
Use the same platform for practical teaching, demonstrations, open days and conversations with local employers—not just as equipment on display.
Industrial practice, designed for teaching
A useful training cell makes the whole system understandable. Discuss these work packages when defining the station—not as an invitation to wire or bypass a live machine.
Robot controller, PLC, HMI, sensors and actuators: learn operating modes, signal handshakes, cycle logic, diagnostics and documented fault recovery.
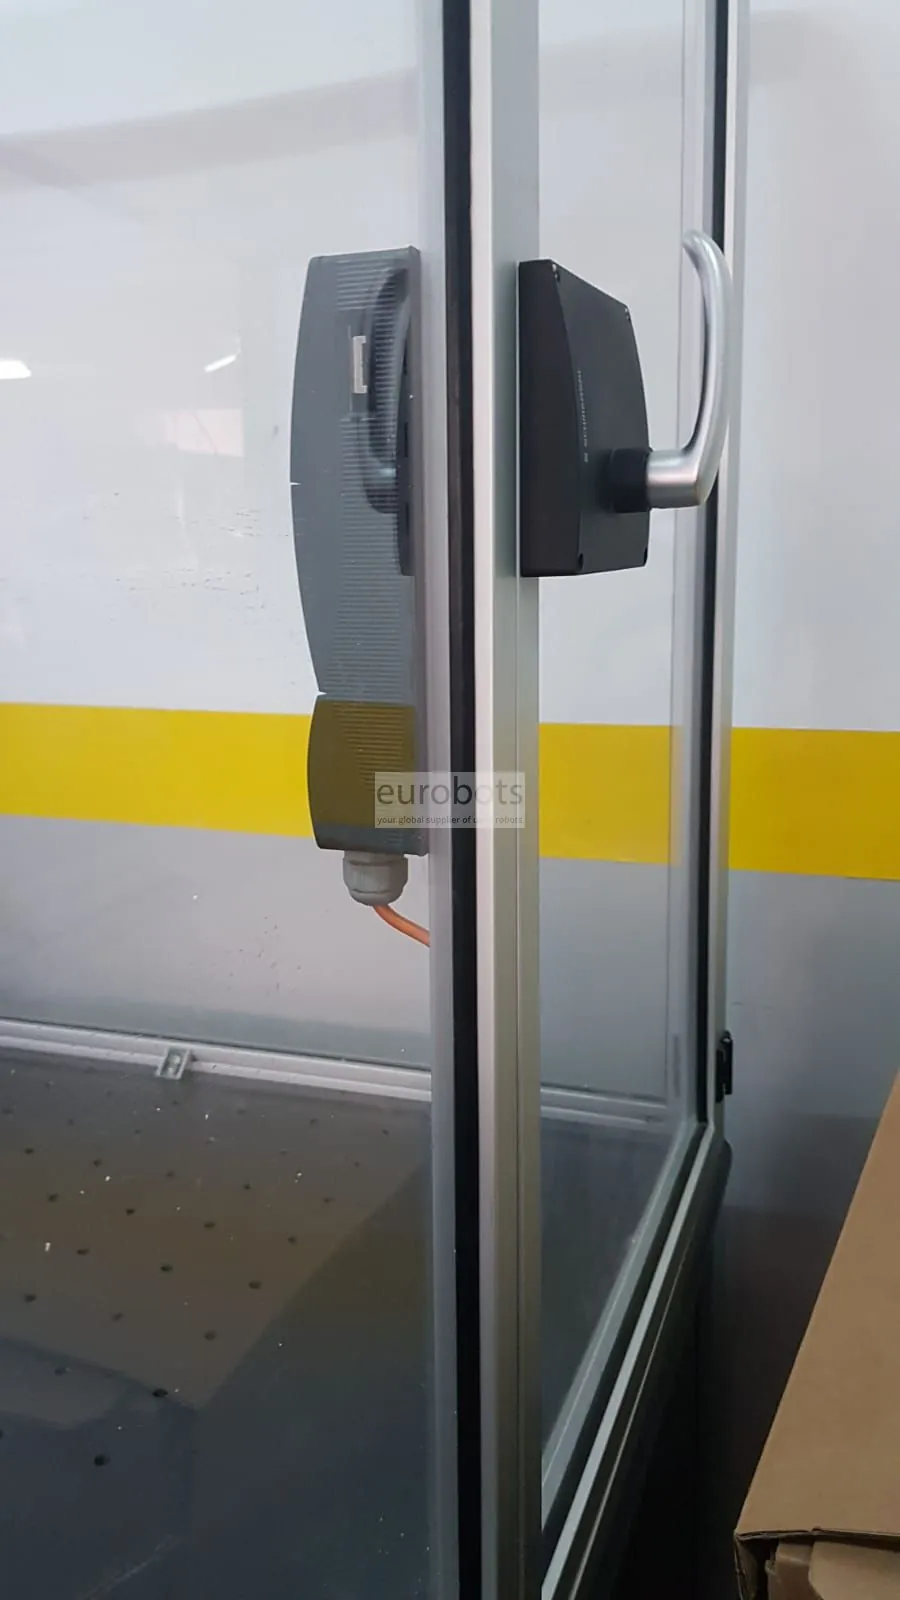
Define guarding, interlocked access, emergency stops, safe stopping, restart prevention and energy isolation through the risk assessment. Appropriate safety-rated sensing, logic and outputs are specified and validated by competent people; ordinary PLC code is not a substitute.
Agree electrical documentation, I/O lists, backups, operating instructions, supervised exercises, teacher onboarding, maintenance and acceptance evidence. Simulate faults; never defeat safeguards to create a lesson.
These are specification topics, not a certified circuit or a promise that every item is included. Integration, compliance assessment and final validation need named owners in the project scope.
From learning goal to equipment
These manufacturer-documented examples serve different jobs. Published figures below are reference specifications, not proof of suitability for your application. Confirm the exact supplied revision, accessories, support and availability.
First classroom experiments
4 axes · 250 g payload · 340 mm reach
A desktop arm for teacher-led motion, drawing and sorting activities. DOBOT lists DobotLab block programming and optional pen, gripping and sensor/vision accessories.
Check before choosing: Confirm the Magic Box, end effectors, operating-system support and exact educational bundle. It is not a six-axis industrial arm.
Manufacturer information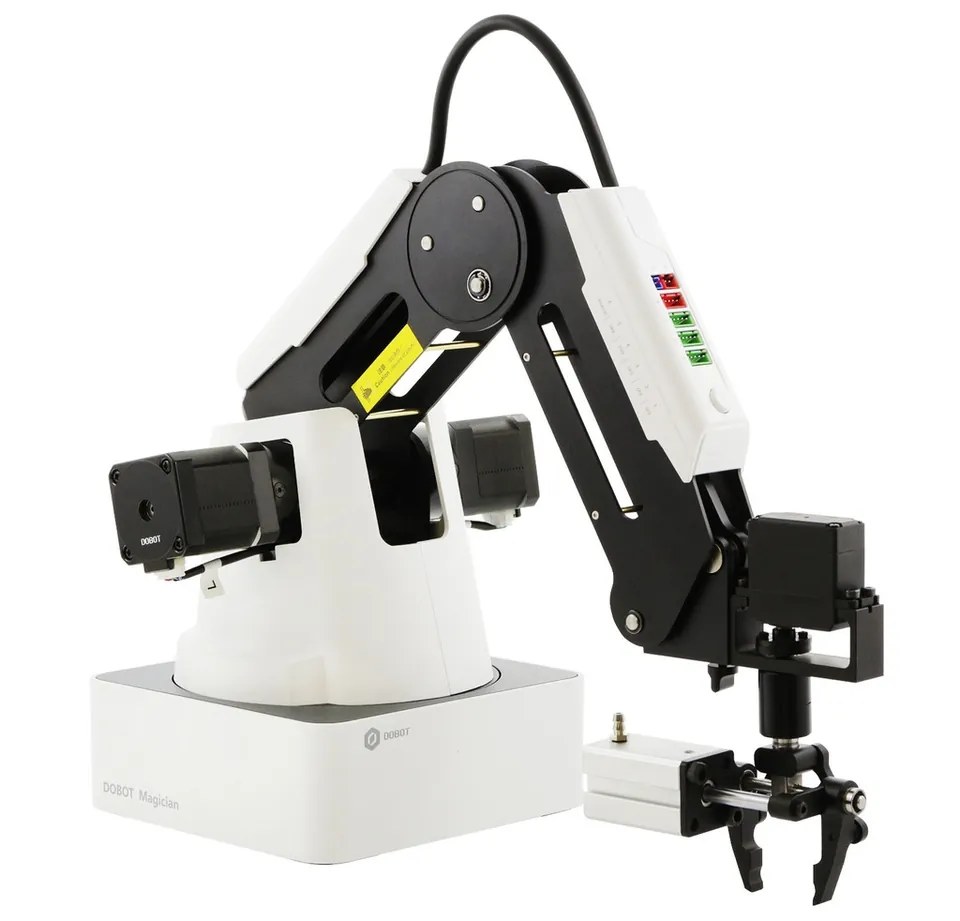
Desktop robotics & creative projects
4 axes · 500 g payload · 320 mm reach
A desktop teaching arm with drawing, gripping and configurable accessory options. Manufacturer documentation distinguishes DobotLab- and DobotStudio-based learning workflows.
Check before choosing: Verify the robot generation, kit contents and software together. A conveyor or vision exercise needs its own compatible accessories; it is not included by default.
Manufacturer information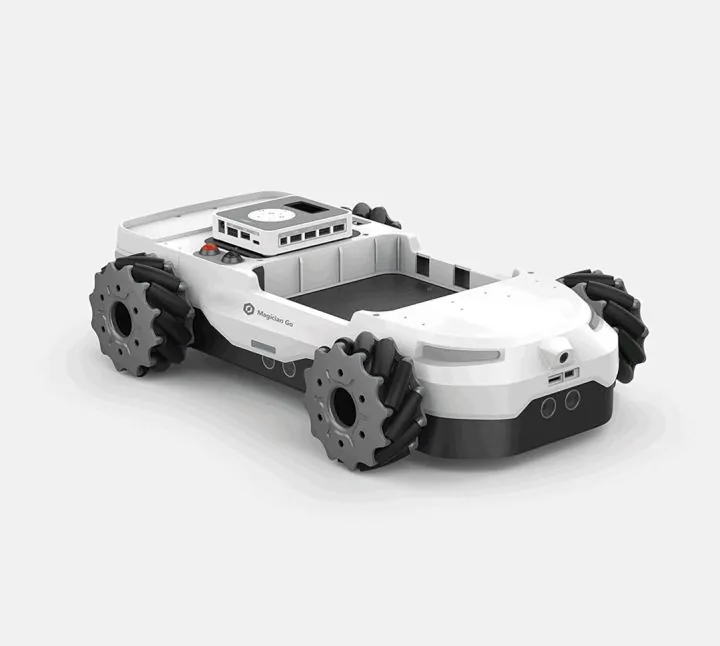
Explore mobile robotics
Mecanum-wheeled mobile platform
DOBOT describes GO as a mobile platform that can combine with Magician Lite. Use it to discuss movement direction, odometry and the difference between an arm frame and a mobile base frame.
Check before choosing: Confirm the Lite/base combination, camera package and software version. Do not assume it carries an E6, a CR arm or arbitrary payloads.
Manufacturer information
Six-axis teaching & research
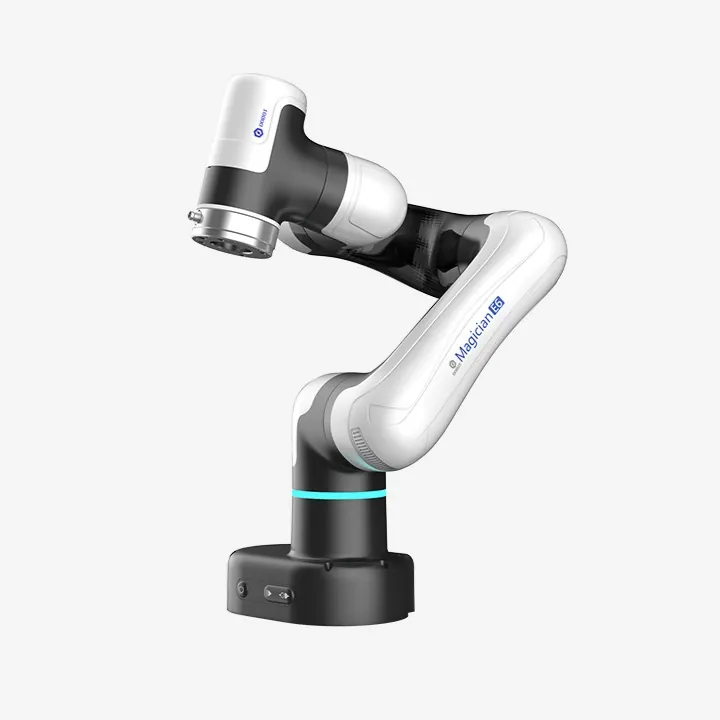
6 axes · 750 g payload · 450 mm reach
A desktop educational cobot for orientation, coordinate frames and automation exercises. DOBOT lists graphical programming, drag-to-teach and DobotStudio Pro.
Check before choosing: Tooling, external control and perception need a specified interface and reviewed cell design. Confirm controller/software versions rather than borrowing Lite instructions.
Manufacturer information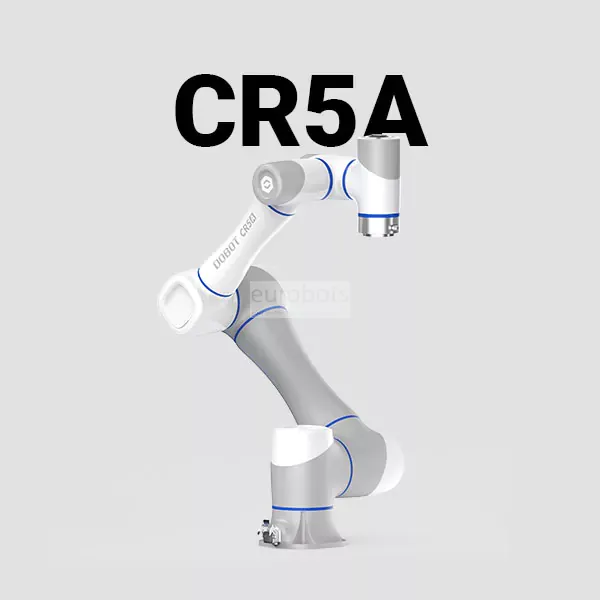
Advanced cell planning candidate
6-axis CRA family · 5 kg payload · 900 mm reach
A manufacturer-documented industrial cobot candidate when vocational or research work needs a larger cell. CRA documentation describes DobotStudio Pro block and Lua programming.
Check before choosing: Not a default school kit or a confirmed stock offer. Specify mounting, tooling, controller options and safeguarding with the project team; suitability and availability need confirmation.
Manufacturer informationSources reviewed 13 October 2026. Product pages may use different languages. Reach and payload describe different constraints; tools and workpieces must be assessed against the actual robot specification.
See the process move
These publisher videos illustrate equipment and processes. They are not a substitute for the supplied instructions, a lesson plan or a safety assessment.
Videos stay unloaded until you choose to load one. Loading connects to YouTube, which may process device information. You can also open the video on YouTube. Audio and captions depend on the publisher.
Publisher: Top 3D Shop Inc.
Watch how a desktop arm moves and changes tools. Compare the demonstration with your intended lesson and the actual kit.
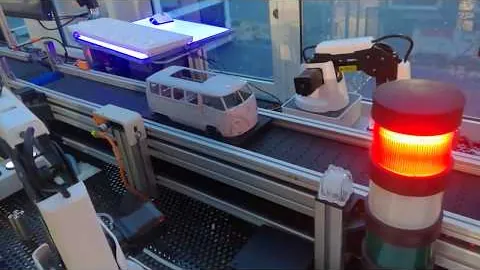
Publisher: Dobot Robotics
Follow a teaching assembly line using Magician robots and a Siemens PLC. Notice the stations and signal coordination, not just the arms.
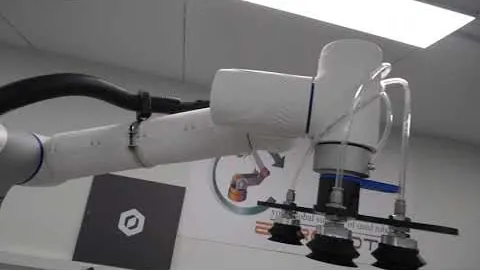
Publisher: rebots
See a palletizing demonstration from ReBots. The layout and protection shown belong to that example, not every proposed cell.
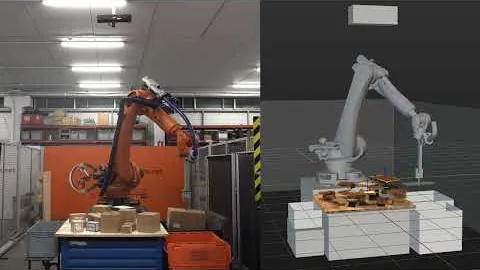
Publisher: Eurobots
Watch an industrial bin-picking example from Eurobots. Ask how the part is located, gripped and transferred.
The complete learning setup
Start with the teaching task and map the whole setup. This is a conceptual planning checklist, not a wiring diagram or an approved safety architecture.
Manipulator, end effector, mounting, payload and reachable task—not just maximum reach.
Workholding, part presentation, sensors and optional vision, with a defined response to missing parts.
Controller, optional PLC, verified I/O or network interfaces, computers, software and reproducible programmes.
Assessed hazards, appropriate safeguards, power/energy isolation, supervision, procedures and accessible workstations.
Collaborative or educational branding does not remove the need for risk assessment. Safety functions, emergency stops and restart behaviour must be specified and validated for the real installation by the responsible competent people.
Before buying
A clear learning and operating scope helps separate the initial robot price from the cost of a usable, maintainable teaching setup.
What can learners already do, and what must they demonstrate after the course?
How many learners share a station, with what supervision, space and accessible working positions?
Which robot, end effector, workholding, sensor and safety components are actually included?
Do school computers support the exact software, accounts, permissions and offline workflow required?
Are Python, PLC protocols, APIs or ROS genuinely needed—and verified for the supplied controller and versions?
What time and budget cover teacher training, preparation, consumables, licensing, maintenance and spares?
Who owns risk assessment, installation, safeguards, commissioning, acceptance and ongoing support?
I’m Alex Ye Xu. Through AYXWORKS, I share practical robotics learning ideas. For equipment and technical projects, I work with Eurobots and ReBots to help connect the learning objective, robot, tools and integration scope.
Eurobots brings industrial robotics, refurbishment and technical support; ReBots connects that experience with R&D, STEAM education and modular teaching demonstrators.
Bring the outcome you want learners to demonstrate. Ask about an equipment shortlist, a demonstration, a phased lab plan, teacher preparation and ongoing support. We will define which services can be provided and who owns installation, safeguarding and acceptance before a proposal is agreed.
Explore equipment with ReBotsQuestions worth asking
The right answer depends on the activity, users and actual equipment configuration.
There is no universal age threshold for every robot and activity. Start with learner ability, the task, the manufacturer’s instructions, supervision and risk assessment. Paper and browser exercises can teach sequencing before powered equipment is appropriate.
No. An arm may still need an end effector—the tool attached to it—workholding, sensors, control interfaces, software, mounting and safeguards. Ask for an itemised scope that separates equipment from engineering, training and acceptance.
That is a useful curriculum goal, but software support is model-specific. DOBOT documents block and Python activities in parts of the DobotLab ecosystem; E6 and CRA use different controller/software workflows. Verify the exact robot, operating system, interface and supported examples before selecting a course.
Yes, by starting with a conceptual I/O handshake and then using a verified training setup. Which protocols and options are available depends on the controller and software. Standard I/O, Modbus or a network connection must not be mistaken for a safety-rated control function.
No. The final task, tool, workpiece, surrounding equipment and users determine the risks. Supervision, safeguarding and validated operating procedures are required as appropriate; a product label or browser simulation does not approve a real classroom installation.
Confirm the specific model, controller generation, firmware, driver release and operating system. Request a small reproducible interface test before committing to a research platform. Do not assume a driver for one DOBOT family supports another.
Share learning outcomes, learner level, group size, available equipment and space, required software/interfaces, budget range and timetable. Do not send student personal data. The next step is a scoped technical discussion, not an automatic equipment recommendation.
From curiosity to a teaching setup
For an equipment or laboratory enquiry, share your learning goal, group size, existing kit, space, budget range and timetable. The first conversation defines the right scope, not the largest robot. Please do not send student personal data.